We see the same pattern across stores of all sizes. Accurate bay counts cut waste, protect aisle flow, and keep budgets under control. Store size, stock mix, and aisle shape drive the final number. Our team at Mills Shelving helps with measurements and drawings, yet the goal here is simple. Give you a clear method to calculate what you need with confidence.
Recent figures from the Australian Bureau of Statistics show that retail turnover in Australia rose 0.2% in May 2025 (seasonally adjusted). In a market with steady yet moderate growth, every square metre of selling space needs to perform. Precise bay planning helps retailers match inventory with actual sales flow instead of overinvesting in unused fixtures. For layout ideas and system options, many readers start with our Retail Store Shelving solutions page. It shows common configurations that suit supermarkets, pharmacies, bottle shops, and convenience formats.
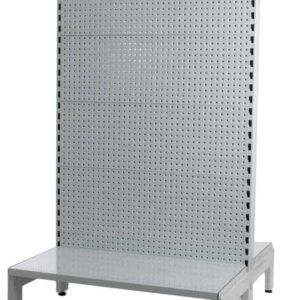
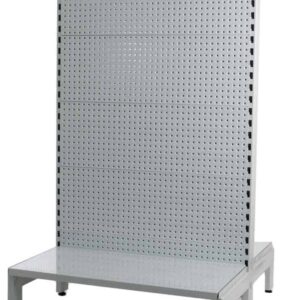
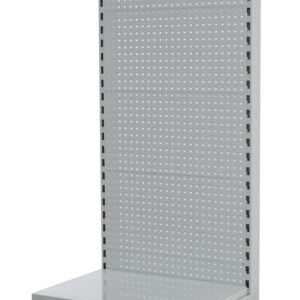
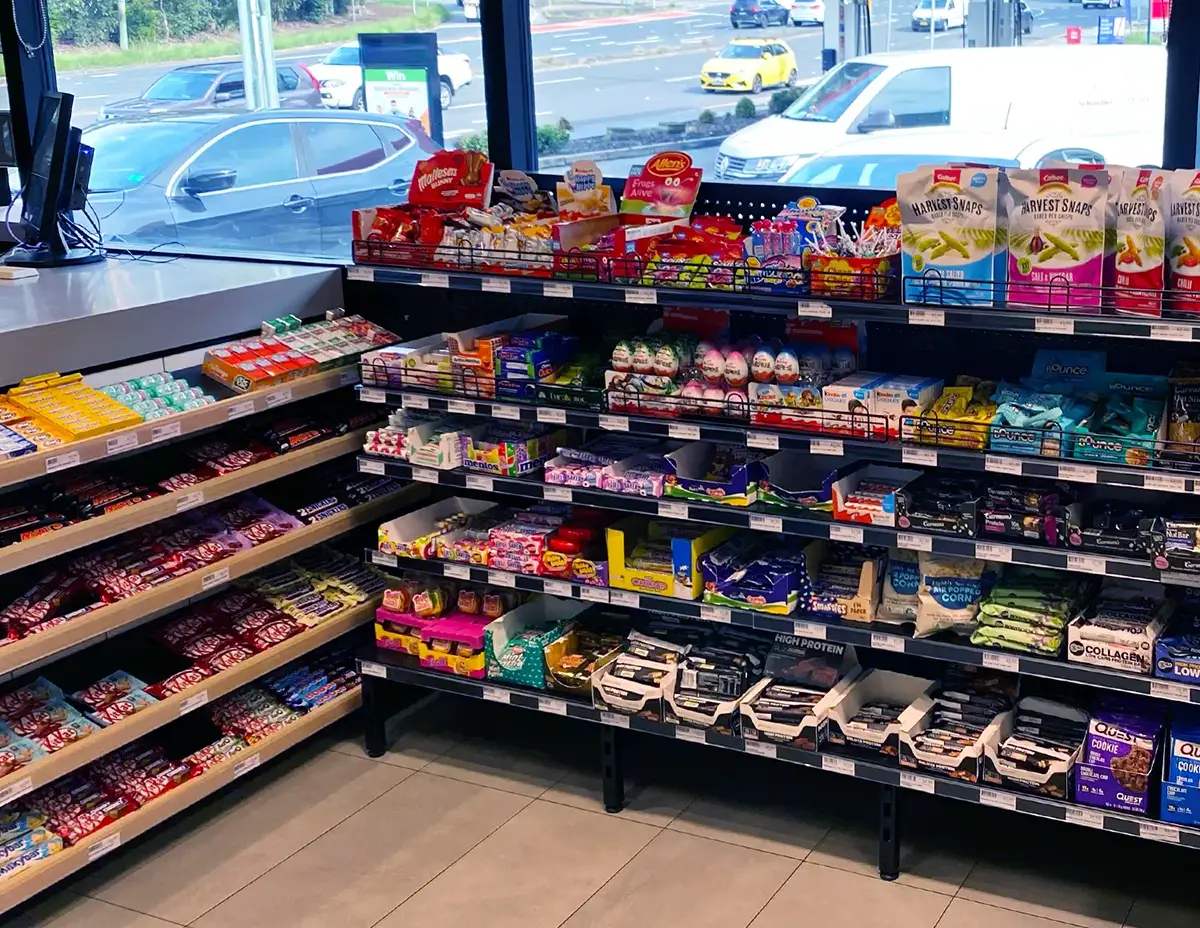
A bay is a single unit between two uprights. Connect bays to build a continuous run. Wall runs use single sided bays. Central aisles use double sided bays. Bay width and depth set capacity and aisle clearance.
Key points in plain terms:
A simple rule sits at the heart of planning:
Bay count = usable run length ÷ chosen bay width.
Round down to a whole number, then decide if end treatments or corner units are needed.For specs and accessories that match common Australian store formats, see gondola shelving.
Short, sharp, and practical.
Store dimensions
Measure length and width of the sales floor. Remove doors, service counters, POS areas, columns, and any fire egress zones. The remainder is usable.
Bay width
Narrow widths help tight spaces and small goods. Wider widths suit general merchandise and bulk. Pick one width per run for clean joins and neat ticket lines.
Bay depth
300 mm supports light packs, small health and beauty, and narrow aisles.
450 mm supports cartons, bottles, and higher volume lines.
Depth choices affect aisle clearance, so confirm walkway targets before locking in.
Product mix and rate of sale
Fast sellers need more facings or deeper shelves. Fragile or premium items often sit better with fewer facings and more visual space. A category planogram helps convert this into facings per bay.
Aisle layout and traffic flow
Grid layouts use parallel runs. Free flow layouts use shorter runs and feature zones. Double sided aisles should line up cleanly with wall runs for a balanced view from the entrance.
Growth buffer
Leave space for seasonal lines or a future category. Modular frames let you add bays later with minimal disruption.
Follow the same sequence we use in early planning. Keep a calculator and your scale drawing nearby.
Worked example table
| Area | Usable Length (mm) | Bay Width (mm) | Bays | Type | Notes |
| Wall Run A | 7,200 | 1,200 | 6 | Single sided | Straight run, no door cutouts |
| Wall Run B | 4,800 | 900 | 5 | Single sided | One column bypass included |
| Central Aisle | 6,000 | 1,200 | 5 | Double sided | 1,000 mm walkway each side maintained |
The table shows a simple shop with two wall runs and one central aisle. Adjust the counts after you add end treatments or promotional gaps.
Use these as starting points, not fixed rules. Stock mix shifts the numbers.
Small boutique, narrow footprint
Busy convenience store
Mid size supermarket
For budgeting benchmarks that pair with bay counts, many readers compare against our guide on how much retail shelving installation costs in Australia. It helps align equipment counts with a realistic spend.
Pick the lightest tool that gets the job done. Speed matters during early scoping.
We can take a floor plan and convert it into bay counts, depths, and a clean layout drawing. The focus remains on your goals, such as more facings for high sellers, faster restocks, or clearer sightlines from the door.
Quick checks that save time later.
Bay count connects directly to your fit-out cost. Each unit adds to the total for equipment, installation, and freight. A balanced layout avoids both waste and shortage.
How bay numbers affect cost
Yet fewer bays can restrict range or lead to overstocking on each shelf. The right number creates a layout that supports steady sales without overloading the floor.
A single 1200 mm bay might cost less than $150 ex GST, while a full aisle of ten could reach $1,500 before accessories. Adding hooks, fences, or baskets pushes the total higher.
Certain store types benefit from outside help. Multi-aisle supermarkets, pharmacy chains, and liquor stores often need precision layouts for compliance and product flow. Professional input shortens project time and avoids misalignment between sections.
At Mills Shelving, our design team handles full layouts and bay counts from client floor plans. The process covers:
From our experience fitting out independent retailers and large chain stores across Australia, early planning consistently saves both time and budget. Store owners who start ordering equipment without confirmed bay counts often find themselves revising layouts halfway through a project, which adds cost and causes delivery delays. In contrast, projects that begin with clear measurements and confirmed runs usually finish faster and require fewer adjustments.
The result is a plan that can move straight to quoting or installation. For single-store projects, we also supply quick layout checks for clients who already have rough measurements. The advice keeps projects practical and cost-aware.
Before confirming your order, review each point carefully.
A short checklist on paper or spreadsheet helps track each section. Once finalised, send the confirmed run lengths to our team for quoting.
Accurate bay planning creates order from the start. The right layout makes better use of every square metre, supports smooth restocking, and keeps aisles clear for customers. An overfilled floor slows movement and hides stock. A layout that underuses space leaves gaps and weakens the store’s visual rhythm.
Well-chosen bay widths and depths give flexibility. Modular systems can grow or contract with your product range, making future adjustments easier.
Retailers who invest time in precise measurement see long-term payback through lower rework costs and improved store performance.
For ideas on layouts, specifications, and accessories, visit our Retail Shelving solutions page or the gondola shelving section to find configurations that match your space.